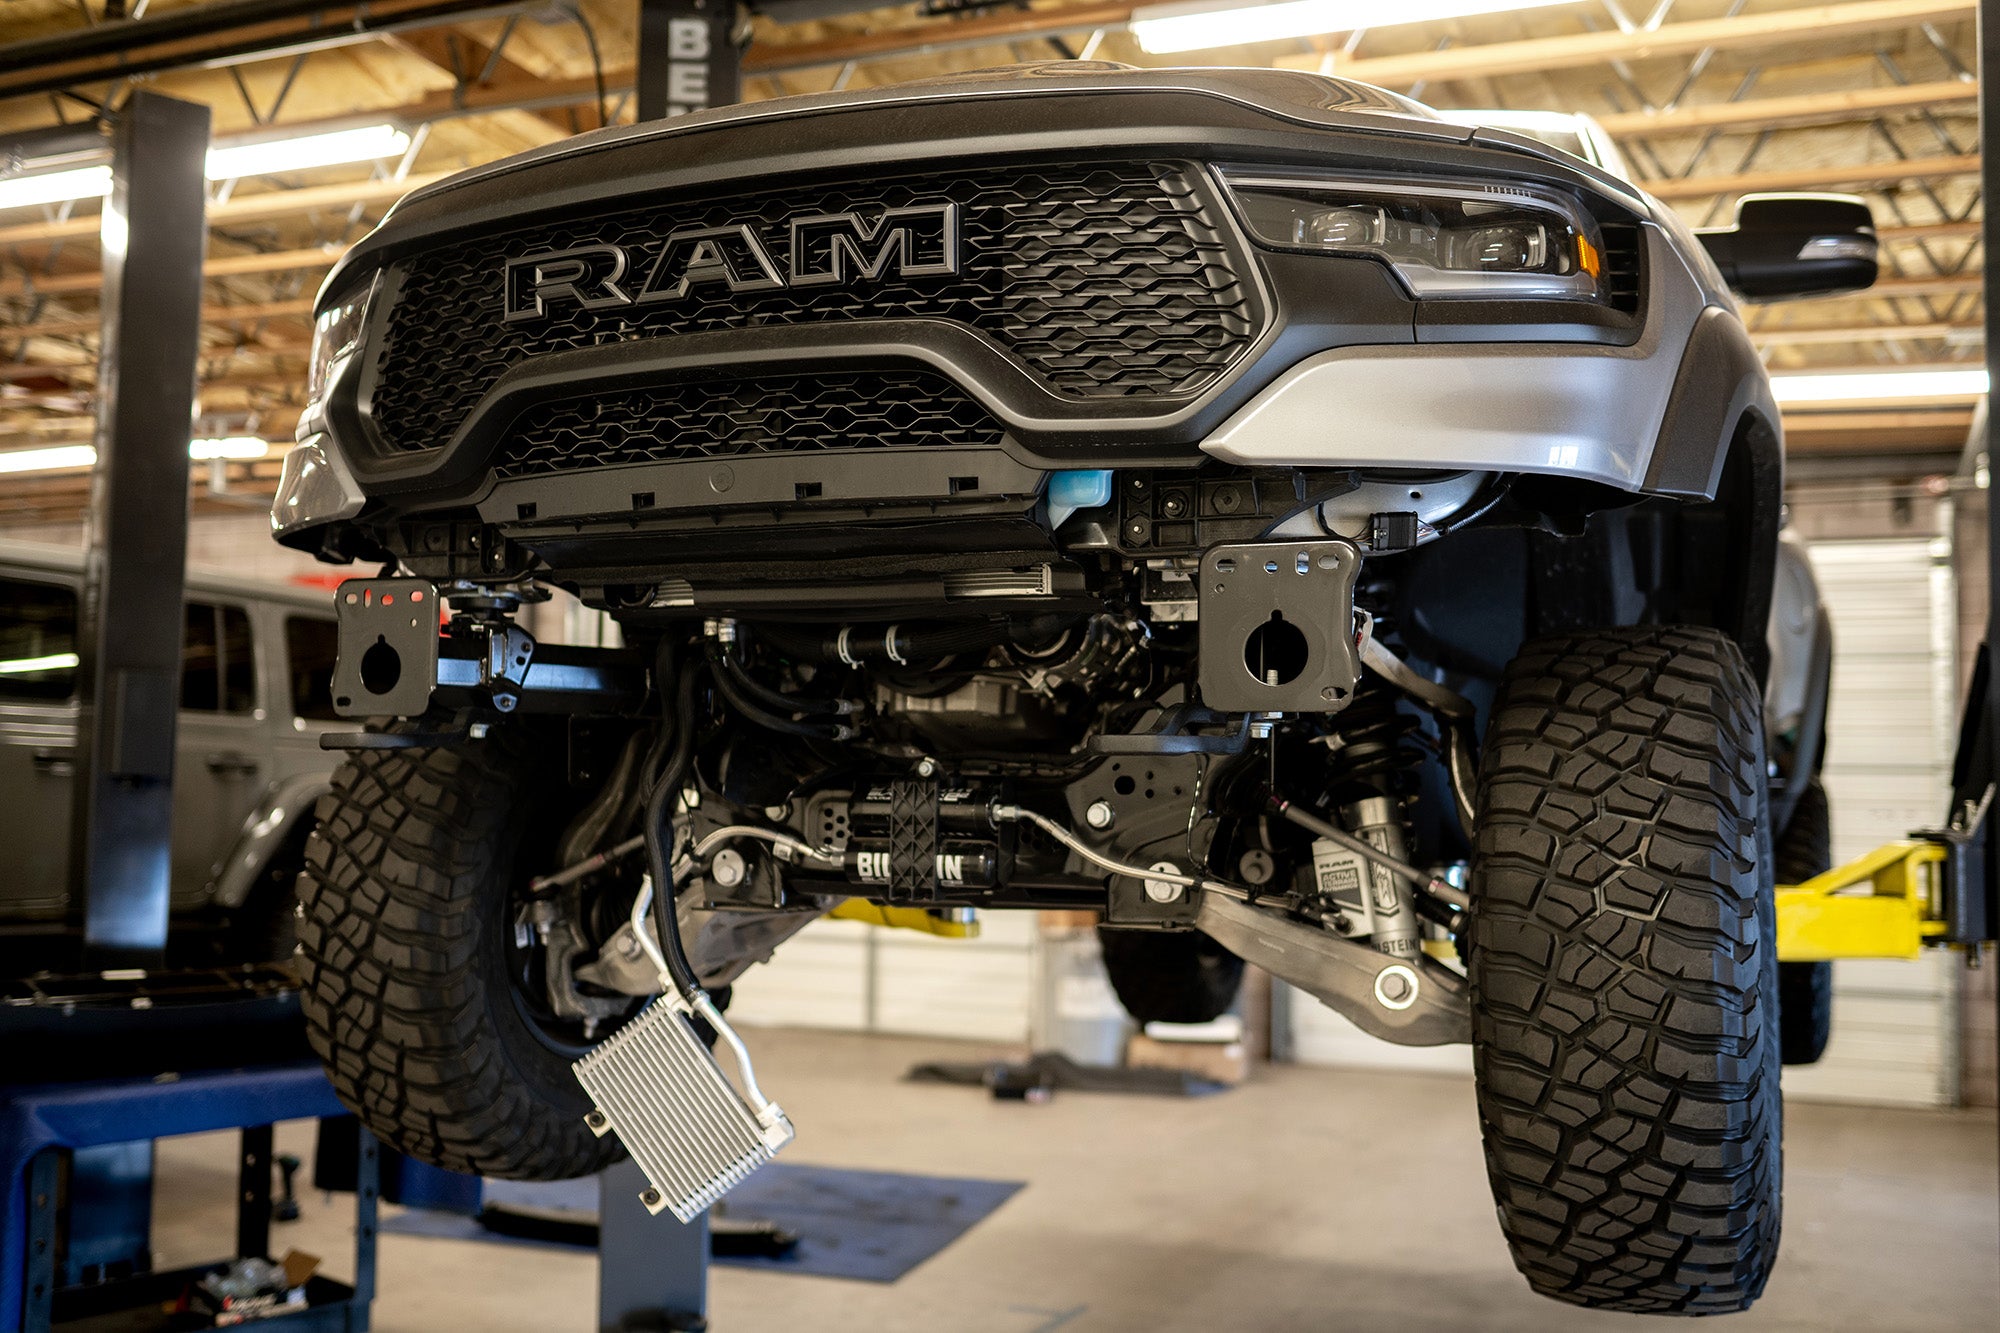
Did you pick up an Addictive Desert Designs TRX Front Bumper? Are you looking for a guide on how to remove the factory front bumper on your TRX? Well, you found one! This article details the steps required to remove the OEM front bumper, as well as what tools you'll need for the job.
Preparation:
- Disconnect the negative battery terminal. Park the vehicle on level ground and set the emergency brake.
- We recommend reading through the removal instructions completely before performing the work.
You will need the following tools:
- Ratchet
- 8mm socket
- 10mm socket
- 13mm socket
- 16mm socket
- 18mm socket
- T40 socket
- Phillips head screwdriver
1. Using a 16mm Socket, remove the skid plate mounting bolts (x6). Then, remove the skid plate from the vehicle. (Fig A)

2. From underneath the vehicle, unplug the main bumper harness connector located on the driver side of the vehicle along the frame rail. (Fig B)

3. Using an 8mm Socket, remove the two bolts (per side) along the front portion of each front wheel well. (Fig C)

4. Using a 13mm Socket, remove the three bolts (per side) that hold the oil cooler to the vehicle. Then, zip tie the cooler out of the way for the time being. (Fig D)

5. Using an 18mm Socket, remove the three mounting nuts (per side) that hold the bumper to the vehicle. Then, remove the bumper from the vehicle. (Fig E)

6. Reinstall the oil cooler by reinstalling the bolts that were removed in Step 4. (Fig F)

7. This step is optional and is done for aesthetics. Use a cutoff wheel or something similar to trim the skid plate mounting bracket as shown in (Fig G). Make sure to paint over any bare metal.

8. This step is optional and is done for aesthetics. Use a cutoff wheel or something similar to trim the inner fender mounting bracket as shown in (Fig H). Make sure to paint over any bare metal.

9. Set the OEM bumper on work bench. Use an 8mm Socket to remove the three mounting bolts (per side) that hold the inner liner to the bumper. Remove the inner liners from the bumper. (Fig I)

10. Remove the fog lights from the OEM bumper. To do this, remove the two vertical facing bolts (T40 Torx Socket) along the top side of the fog light. Then, remove the 10mm bolt and nut along the bottom side of the fog light piece. Unplug the fog light and remove any plastic harness clips that need to be removed the get this piece off the bumper. (Fig J)

11. Use an 8mm Socket to remove the mounting nuts that hold the fog light trim piece onto the bumper. Then, remove that piece from the bumper. (Fig K)

12. Use a 10mm Socket to remove the four bolts that hold the plastic trim piece to the edge of the OEM bumper. Then, remove that piece and use a Phillip's Head Screwdriver to remove the two marker light mounting screws. Remove the marker lights from the bumper. (Fig L)

13. Remove the parking sensors from their mounting rings. To do this, spread the tabs on the back side of the rings and push the sensors out the back side. Make sure to keep track of the position/orientation they come off your OEM bumper so you can reinstall them in the same position/orientation on your new bumper. (Fig M)

14. Remove the inner four sensor rings. Do this by pressing in the tabs along the base of the sensor rings and pushing the rings out the front side of the bumper. Make sure to keep track of the position/orientation they come off your OEM bumper so you can reinstall them in the same position/orientation on your new bumper. (Fig N) You do not need to remove the outer two sensor bezels.

15. Release the series of plastic clips holding the OEM bumper harness to the OEM bumper. Then, remove the harness from the OEM bumper. (Fig O)

Now you're ready to install your Aftermarket TRX Front Bumper!


Leave a comment